Page 1 of 5
Bottom Drain Electric Sanke Build - "Ivan"
Posted: Sat Feb 22, 2014 7:43 pm
by jtmwhyte
Title says most of what needs to be said. Looking to go with a similar system that I have now with the ability to go to 10 Gallon batches.
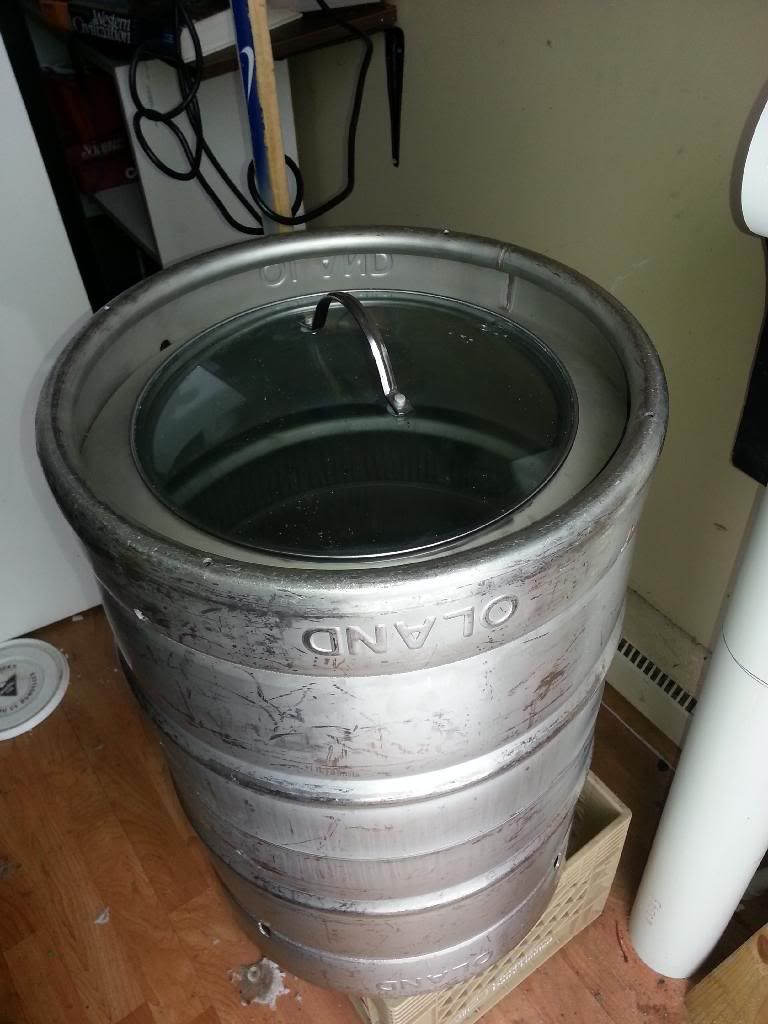
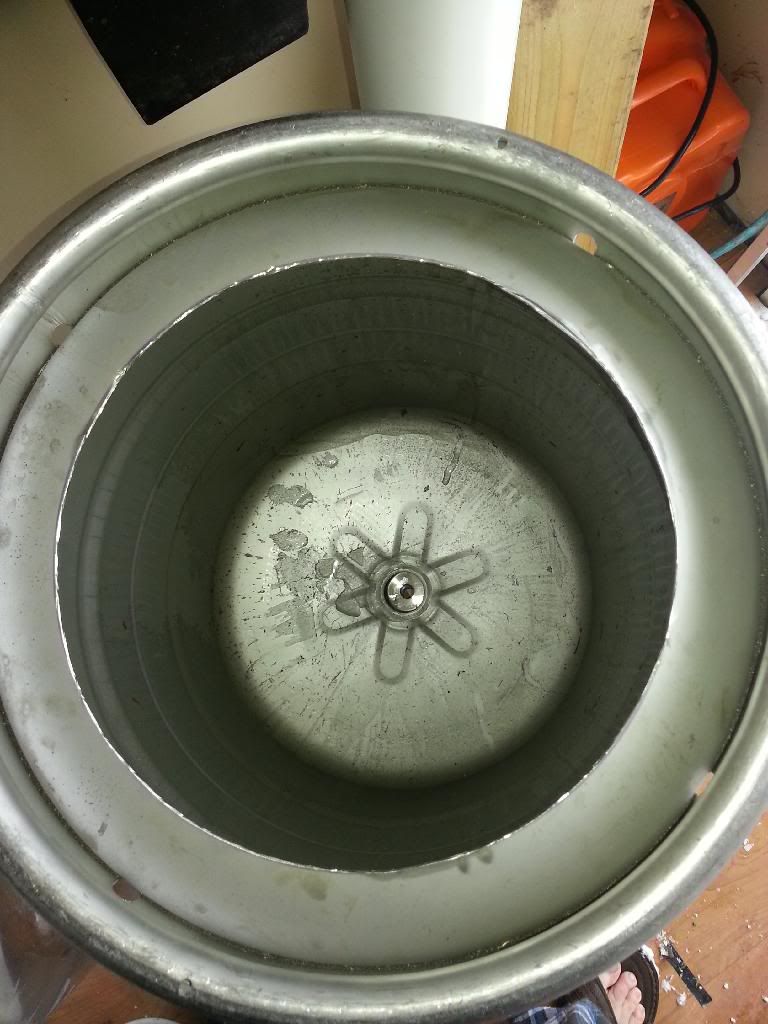
First off I'll be using this bad boy. I'll be doing a bottom drain through the sanke connection and a 2" Tri Clover with a ball valve. Probably won't do an elbow and go completely vertical into my fermenters.


I'm hoping to suspend the keggle from an assembly like this one to keep it high enough to gravity drain into my fermenters.
I'm going to use this Brewer's Hardware kit and silver solder a tri clover ferrule to the keg and use their tri clover element housing. This is for easy cleanup and convenience as I would be more comfortable being able to pull the element out. I checked one of these out at Mark's place (Bluenose) and they are awesome.

Re: Bottom Drain Electric Sanke Build
Posted: Sat Feb 22, 2014 8:43 pm
by AllanMar
I did a DIY version of these (those weren't available at the time). Used 2" ferrules (dimpled and soldered), i really enjoy being able to remove the elements for cleaning. I also have a ripple element, which is why I wanted 2" (although not required).
Re: Bottom Drain Electric Sanke Build
Posted: Sat Feb 22, 2014 9:06 pm
by jtmwhyte
AllanMar wrote:I did a DIY version of these (those weren't available at the time). Used 2" ferrules (dimpled and soldered), i really enjoy being able to remove the elements for cleaning. I also have a ripple element, which is why I wanted 2" (although not required).
Do you have any pictures of this tri clamped to your kettle?
Re: Bottom Drain Electric Sanke Build
Posted: Sat Feb 22, 2014 9:08 pm
by jtmwhyte
So if I got so,ething like this and silver soldered to each end that might work?
http://www.ebay.ca/itm/1-Pcs-SS304-2-Tr ... 8cd&_uhb=1" onclick="window.open(this.href);return false;
Re: Bottom Drain Electric Sanke Build
Posted: Sat Feb 22, 2014 9:08 pm
by AllanMar
ImageUploadedByTapatalk1393114096.521348.jpg
Re: Bottom Drain Electric Sanke Build
Posted: Sat Feb 22, 2014 9:23 pm
by jtmwhyte
Is yours set up to bottom drain as well?
Re: Bottom Drain Electric Sanke Build
Posted: Sat Feb 22, 2014 10:43 pm
by AllanMar
Yea, but I was stupid about it and cut the top off the keg so I soldered 1" tc ferrules on. Bottom drain is great for cleaning.
Re: Bottom Drain Electric Sanke Build
Posted: Mon Feb 24, 2014 2:36 pm
by bluenose
I like the legs, they look sturdy. Can't wait to see how this comes out for you
If I decide to replicate this, I'd go with this on the bottom:
https://www.everwoodavebrewshop.com/pro ... ver-kit-1/
Re: Bottom Drain Electric Sanke Build
Posted: Mon Feb 24, 2014 5:46 pm
by jtmwhyte
In the mail due to arrive tomorrow. Great minds think alike... And ours too, apparently, lol
Re: Bottom Drain Electric Sanke Build - "Ivan"
Posted: Tue Feb 25, 2014 4:26 pm
by jtmwhyte
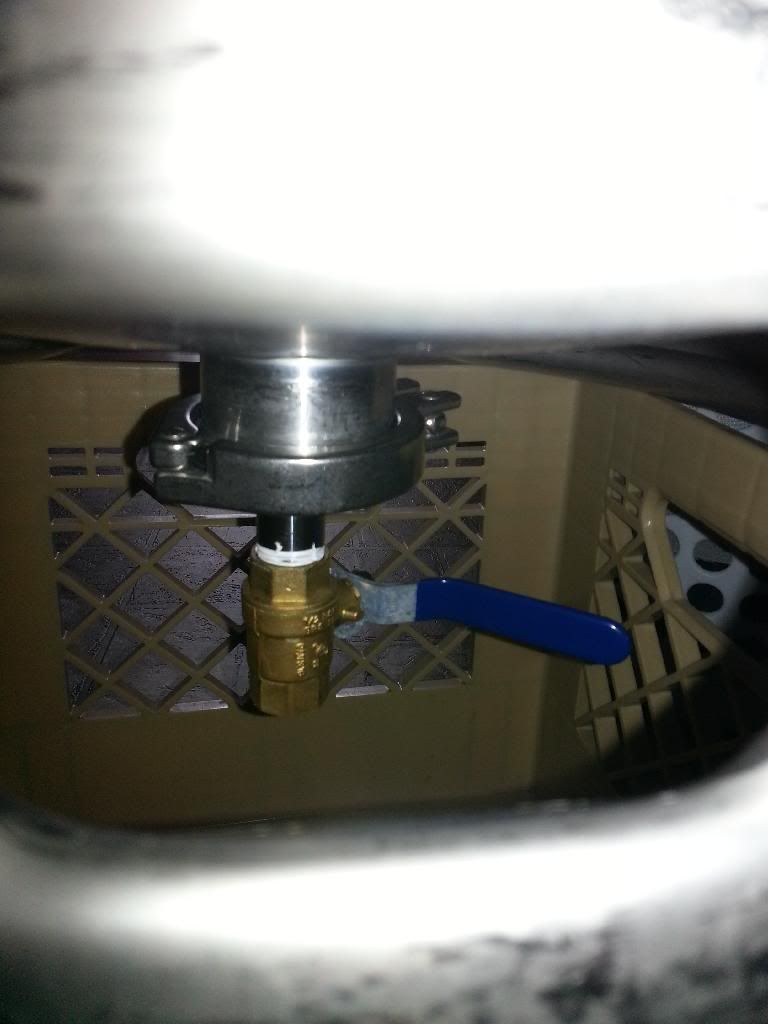
Parts came from Dave today. Here's an update on "Ivan"
Bottom valve is in place and pic shot through a milk crate
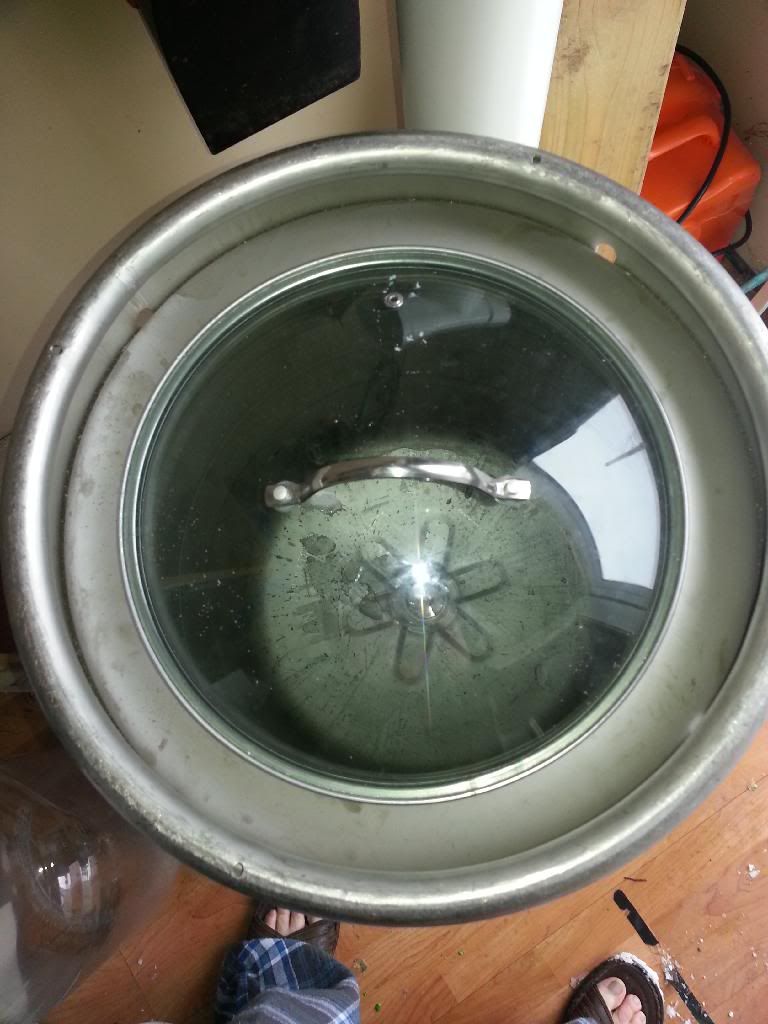
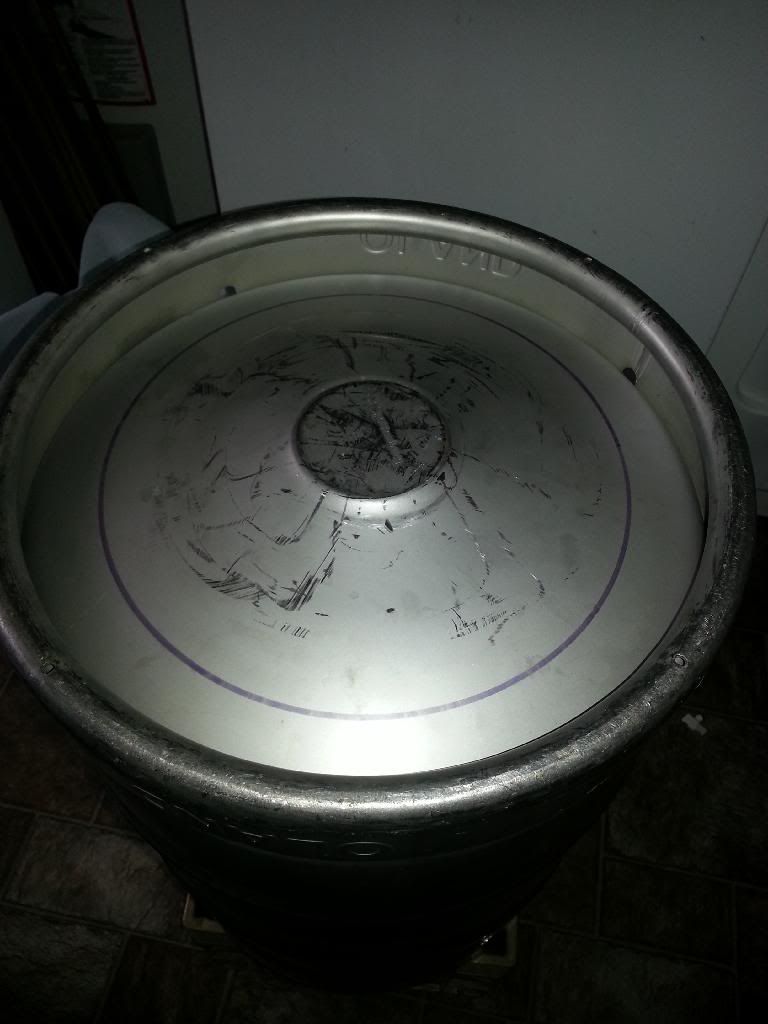
Circle is drawn in order to use a repurposed lid. Now begins the arduous task of cutting this red bastard with the dremel. Apparently it's not only possible but also gives a nice clean hole. Who knew? I made a pass with it already and it seems to be cutting great.

Re: Bottom Drain Electric Sanke Build
Posted: Sat Mar 01, 2014 6:57 pm
by jtmwhyte
AllanMar wrote:ImageUploadedByTapatalk1393114096.521348.jpg
Allan,
did you have any trouble with soldering that ferrule to the kettle? I'm just wondering how strong a solder would be and whether I should get it welded on. Also, in your element box you have an outlet to plug in the cord. What type of connection is that? It looks cool, but I've not seen them before.
Re: Bottom Drain Electric Sanke Build
Posted: Sat Mar 01, 2014 7:08 pm
by AllanMar
jtmwhyte wrote:AllanMar wrote:ImageUploadedByTapatalk1393114096.521348.jpg
Allan,
did you have any trouble with soldering that ferrule to the kettle? I'm just wondering how strong a solder would be and whether I should get it welded on. Also, in your element box you have an outlet to plug in the cord. What type of connection is that? It looks cool, but I've not seen them before.
I've had no problems with the solder, but welds are still better IMHO... Its more of a question of whats good enough. For a strong joint you need to dimple the hole though, you'd be welcome to borrow my tool (and solder/flux) but I only have one for 1" or 2" ferrules (sounds like your doing 1.5").
viewtopic.php?f=3&t=3223" onclick="window.open(this.href);return false;
The plugs are SwitchCraft brand HPC connectors (cheaper version of Neutrik SpeakON), they're used for high power audio. They're rated 50A, but they're not strictly legal for power distribution (use at your own risk). There's a thread over on HBT about them and I think I seen someone else on here used them too. The more expensive ones are twist lock, these have little latch (doesn't work the best). If I did it again I'd get the Neutrik PowerCON version (I cheaped out because the 32A version was pricey). I have some 20A PowerCON ones for my pumps, and they're ALOT better IMHO.
http://ca.mouser.com/ProductDetail/Swit ... M3JLvcQ%3d" onclick="window.open(this.href);return false;
http://ca.mouser.com/ProductDetail/Swit ... sZD2Qfw%3d" onclick="window.open(this.href);return false;
PowerCON:
http://ca.mouser.com/ProductDetail/Neut ... hkjCoBxLvr" onclick="window.open(this.href);return false;
Re: Bottom Drain Electric Sanke Build - "Ivan"
Posted: Sat Mar 01, 2014 7:10 pm
by jtmwhyte
Thanks for the quick reply. I don't see the downside with going 2".
Re: Bottom Drain Electric Sanke Build - "Ivan"
Posted: Sat Mar 01, 2014 7:11 pm
by AllanMar
You won't be able to use those element housings (I don't think he sells a 2" one?). My element housing itself was welded, not soldered.
EDIT: Just noticed he does sell a 2" version now.
If your using his kit, I dont think you need to dimple the hole anyway, because the special flange fit piece he sells.
Re: Bottom Drain Electric Sanke Build - "Ivan"
Posted: Sat Mar 01, 2014 8:14 pm
by jtmwhyte
http://www.ebay.ca/itm/1-Pcs-SS304-2-Tr ... 8cd&_uhb=1" onclick="window.open(this.href);return false;
I'm curious if something like this will work...
Re: Bottom Drain Electric Sanke Build - "Ivan"
Posted: Sat Mar 01, 2014 8:35 pm
by AllanMar
Depends what you plan to do for an element enclosure. Mine is a short ferrule welded to 1/4" plate that is tapped to 1" NPS for the element (that wouldn't work with solder).
Re: Bottom Drain Electric Sanke Build - "Ivan"
Posted: Sun Mar 02, 2014 12:25 pm
by jtmwhyte
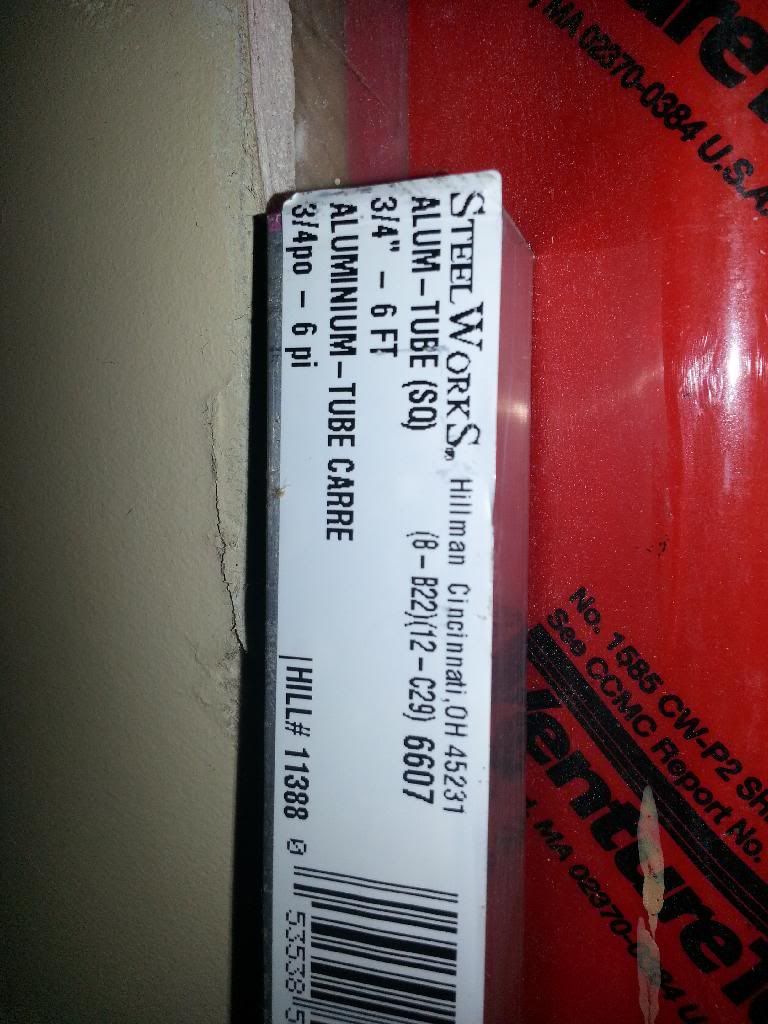
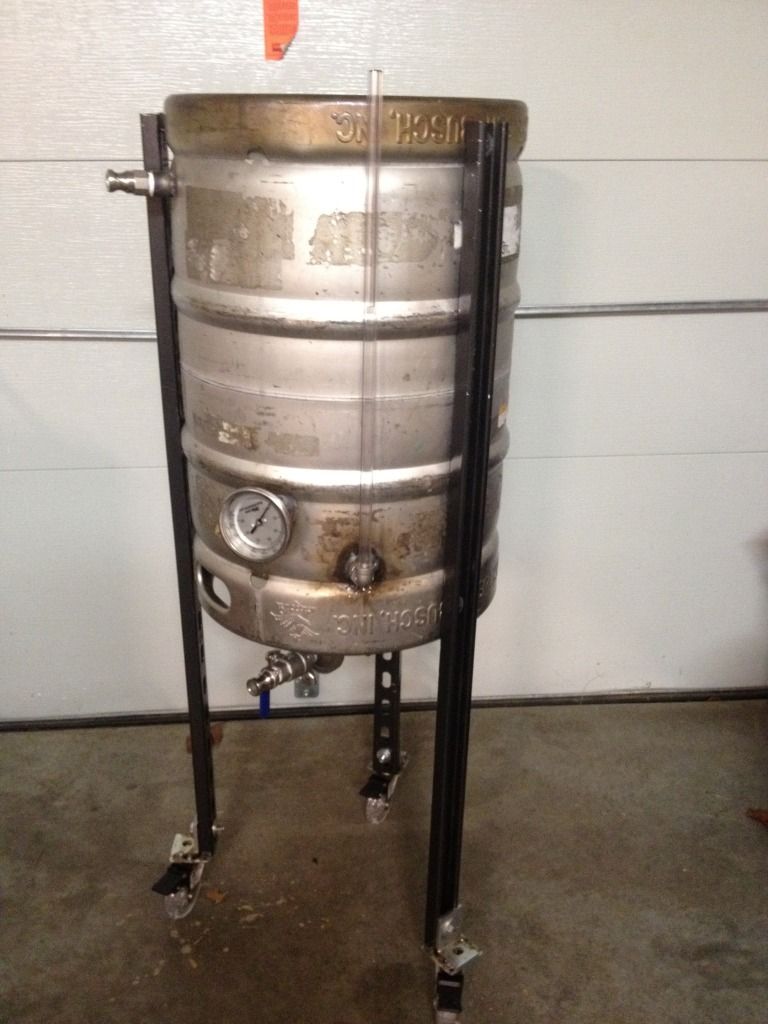
This is the tubing I'm thinking of using. It's a 6ft. length, but I'm gonna cut it to 5ft to the top of the kettle and bolt it into the skirtiing at the top and bottom. I may do casters on the bottom or just vinyl "feet". I'm curious if 4 legs made of the 3/4" tubing would be sufficient to handle the weight of the wort and the keggle.
Re: Bottom Drain Electric Sanke Build - "Ivan"
Posted: Sun Mar 02, 2014 2:04 pm
by jtmwhyte
Re: Bottom Drain Electric Sanke Build - "Ivan"
Posted: Sun Mar 02, 2014 2:10 pm
by LeafMan66_67
Yes - those EZ lock cutting discs seem to last a bit longer than the other fibre cutoff wheels. Nice job!
Re: Bottom Drain Electric Sanke Build - "Ivan"
Posted: Sun Mar 02, 2014 6:21 pm
by redoubt
Awesome - I like the reused stock pot lid!
-Keely.
Re: Bottom Drain Electric Sanke Build - "Ivan"
Posted: Thu Mar 06, 2014 3:44 pm
by jtmwhyte
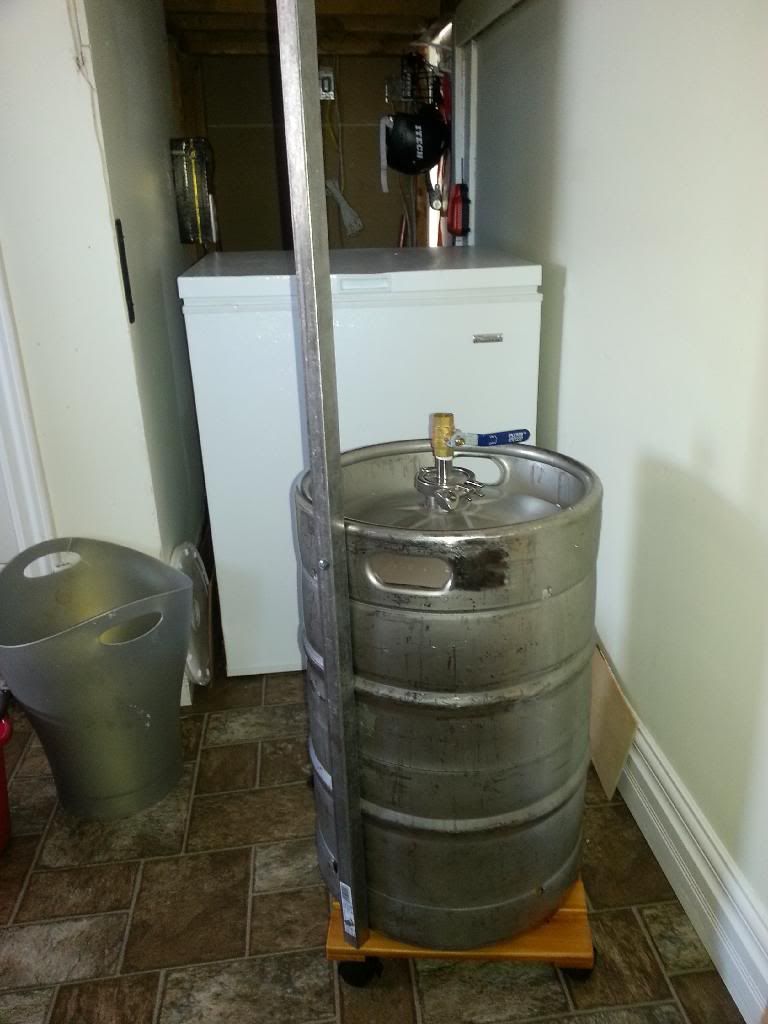
Got the first leg bolted into the skirting. Went with 1" Weldable steel legs.
Re: Bottom Drain Electric Sanke Build - "Ivan"
Posted: Thu Mar 06, 2014 3:46 pm
by mr x
Very nice. I should consider that myself.
Sent from my Nexus 4 using Tapatalk 4
Re: Bottom Drain Electric Sanke Build - "Ivan"
Posted: Thu Mar 06, 2014 3:59 pm
by Keith
Looks good!

Re: Bottom Drain Electric Sanke Build - "Ivan"
Posted: Thu Mar 06, 2014 4:31 pm
by jtmwhyte
Hoping to get the rest on by the end of the weekend
Re: Bottom Drain Electric Sanke Build - "Ivan"
Posted: Thu Mar 06, 2014 8:01 pm
by bluenose
Ivan's going to be tall mambajamba